Friday, October 3, 2014

Crock-Pot Apple Spice Dump Cake


If there’s one thing that we can’t resist at this time of year it’s things that smell like spices and apples. Luckily, this next recipe does both! We found this recipe (where else?) on Pinterest and we were eager to try it. Okay, we’ll admit we giggled a bit at the name but give this recipe a chance and you won’t regret it. We thought it was too good to be true but it turns out that it’s much better than that.

Crock-Pot Apple Spice Dump Cake


Ingredients:

2 cans (20 ounces each) apple pie filling
1 box of spice cake mix (we used Betty Crocker)
1 stick butter (melted)

Directions:

Start by spraying your Crock-Pot with Pam cooking spray. 
This is something we’ve never done before but let me tell you it sure makes clean up a breeze. We might start doing it more often.


Open the cans of apple pie filling and restrain yourself from eating any…oh go on then, have a taste. Now, pour both cans into the Crock-Pot and spread them evenly with a spatula. 


Place your stick of butter in a small bowl and then microwave until melted.
 In a large bowl, combine your cake mix and melted butter. 


With a fork, stir the mixture until it becomes crumbly.


Spoon the crumb mix over the apples, covering as much area as you can. 


Cook on high for 2 hours or until the top of the cake looks golden brown.


Serve warm alone or with your favorite frozen treat.


Not only was this recipe timely but it smelled and tasted delicious! 
We started this recipe while making dinner and it was done just in time for dessert! This is definitely a recipe that we’ll be keeping on hand for those chilly fall nights. The texture of the cake is somewhere between bread pudding and oatmeal but the taste is something out of this world. Have you ever picked up a holiday spice candle, smelled it and wanted to eat it? 
Well, this is sort of like that and now you can.


Cheers!

Baked Honey Garlic Pork Chops


Sometimes it’s nice to spice things up…in the kitchen that is! 
We were feeling like our meals were becoming boring and repetitive and decided to take a step out into the unknown! We found this recipe on our favorite standby, Pinterest, and cut the recipe in half in order to make a nice dinner for two! We were feeling a bit adventurous and since pork is an ingredient we have very little knowledge of we thought we’d give it a try!

Baked Honey Garlic Pork Chops


Ingredients:

3 pork chops (bone in)
1/2 cup ketchup
half of 1/3 cup honey
1/8 cup soy sauce
1/2 tsp minced garlic

Directions:

Preheat your oven to 375 degrees.
Start by thawing your pork chops in a pot of cold water.


We took this time to also peel and cut our potatoes. 
Here’s a little potato art for you.


Now it’s time to make the glaze! 
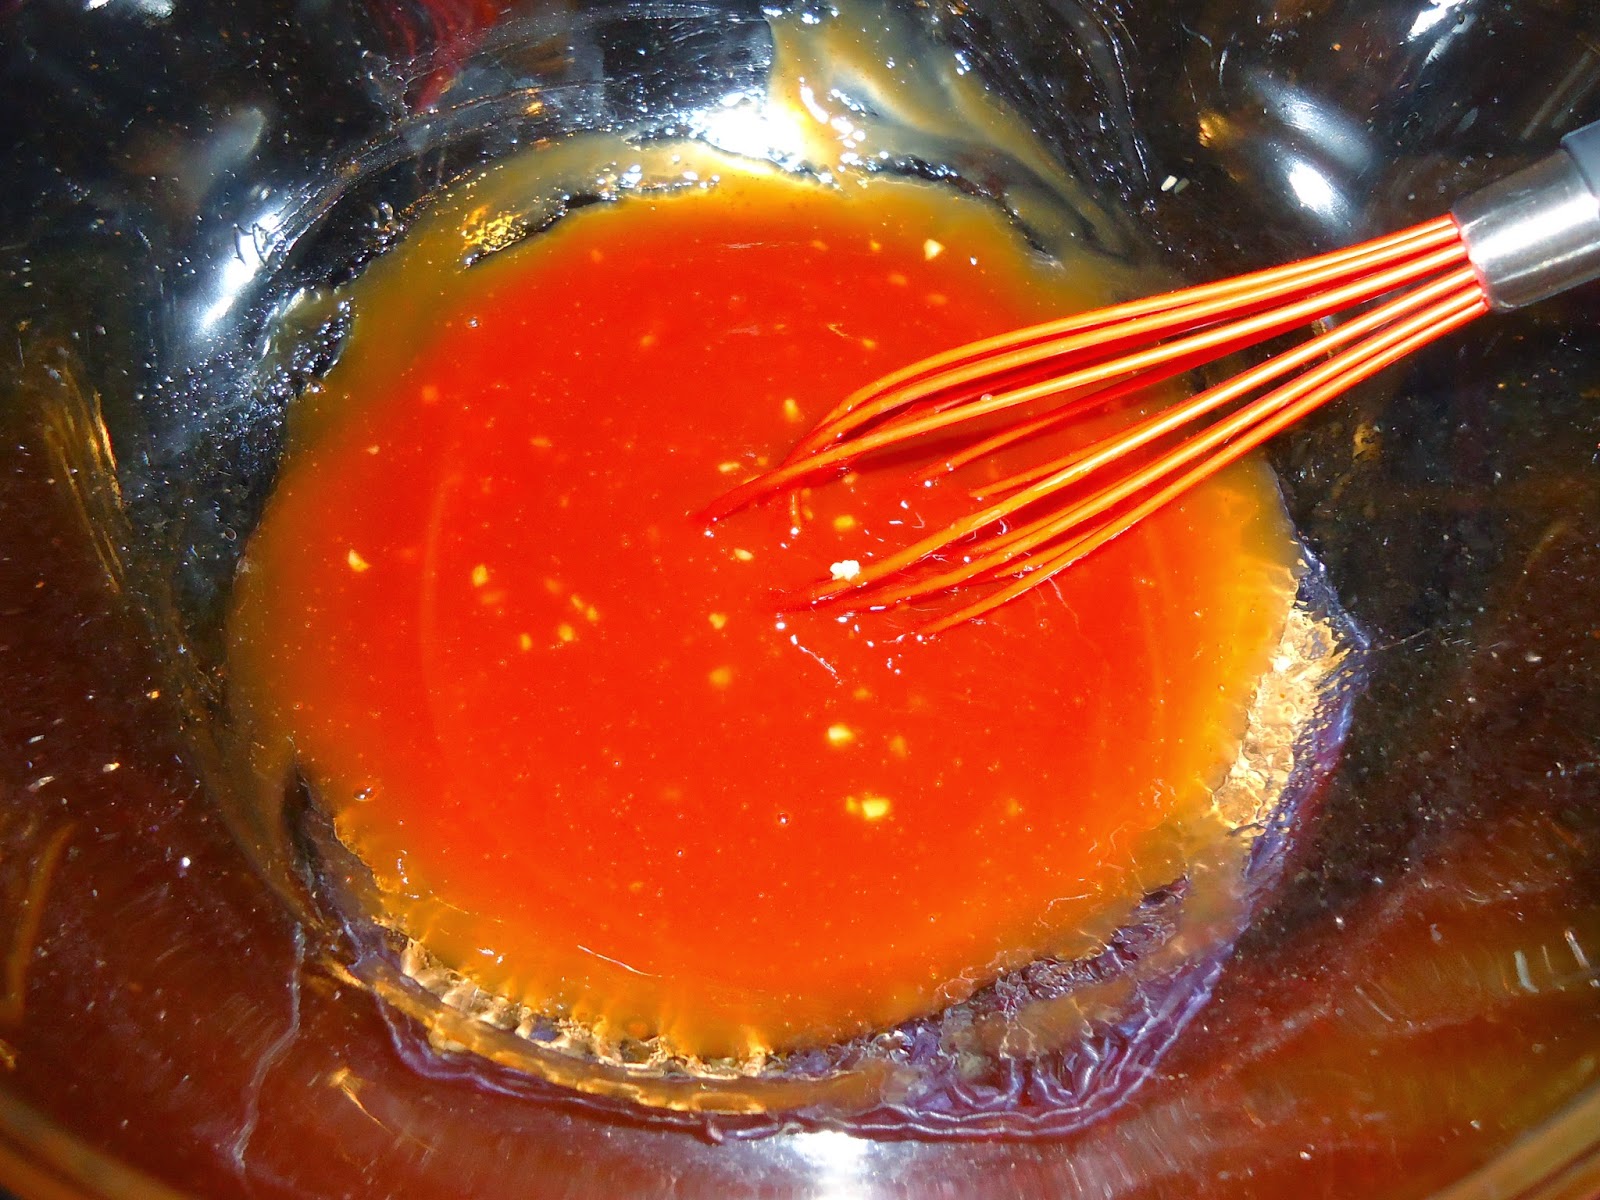
In a medium sized bowl add in the ketchup, 


honey, 


soy sauce,


and garlic. 


Stir with a whisk until combined and set aside.


Grease a 13 x 9 baking dish with Pam cooking spray.
Rinse off and place your pork chops in the greased dish.
Lightly sprinkle both sides of the pork chops with salt and pepper. 


Spoon the glaze over both sides of each pork chop.


Bake for 25 – 30 minutes (we did 27 minutes). 
DO NOT flip these over or you’ll lose the sauce. 
That’s something that we learned the hard way. 


Serve with whatever sides you prefer. 
We went with an old favorite, mashed potatoes and gravy!


This recipe was a great take on an old classic. The sauce had a hint of tangy sweetness but it wasn’t overpowering. It enhanced the flavor of the pork and was even better with the mashed potatoes as a companion.

Cheers!

Tuesday, September 30, 2014

Slow Cooker Cranberry Chicken


Fall is now upon us and you know what that means! 
Slow cookers are crawling out from their dark, dusty homes and making an appearance on our counters once again. Although we do use our slow cooker year round, Fall is definitely one of the best seasons for slow cooker recipes. There are so many options but we thought we’d start with one ingredient that is both versatile and well loved: Chicken!

We found this recipe on Pinterest, cut the amount it makes in half and tweaked it a bit to fit our personal preferences. This recipe makes the perfect amount for two but feel free to double it if you want to serve more!

Slow Cooker Cranberry Chicken


Ingredients:

2 boneless, skinless chicken breasts
1/2 can cranberry sauce
1/2 cup bbq sauce (we used Jack Daniels)
1/2 tsp minced garlic OR 1/2 an onion sliced (we used garlic)
1/4 tsp salt
1/8 tsp pepper

Directions:

If you’re like us you’ll have to start by thawing your chicken. 
We did this in the sink, in a pot of cold water.


Now for the good part, we get to start making the sauce! 
In your slow cooker you’ll want to add the cranberry sauce. 
We cut ours into little chunks to help it spread evenly.


Add in the bbq sauce,


The garlic,


and the salt & pepper.


Stir to combine all of the ingredients.


Now that your chicken is completely thawed and squishy you’re going to want to wash it and cut it into big chunks. These will shrink a bit as they cook so you’ll want to cut them a little bigger than bite size.

Add these into your sauce mix and stir to coat each piece of chicken. 


Set your slow cooker on High and allow this to cook for about 2 1/2 hours or until the chicken is white and can be cut with a fork.


Serve over white rice with whatever sides you prefer. 
We served ours with a side of corn and Stovetop Chicken Stuffing, yum!


This is such a simple, easy recipe to make during the week and the flavors are incredible. It has become a new favorite comfort food for chilly Fall nights and as a bonus it makes your house smell delicious. 

Cheers!

Thursday, August 21, 2014

The Best Hangover Meal

We've all had that feeling when you wake up after a night of one too many drinks and you just can't (as long as you're of age, of course!). All you want to do is curl up in the fetal position and regret all the decisions you've made thus far. A splitting headache, a pounding heart, and an empty and upset tummy. First and foremost, drink water! I know it's simple, but it will make you feel loads better. Now then after you are hydrated, you stumble into your kitchen and alternatively look in the fridge and cupboards until something appears that looks edible. If you don't have a magical fridge that prepares food for you, we have an easy alternative that will fill your tummy and get you back to feeling like you're not on the verge of death. 

This recipe only needs a few things which you probably have in your house if you're a starving 20-something like us. You can add and subtract ingredients if you'd like, but here is our version.

Ingredients:
1 box Velveeta macaroni and cheese 
2 hotdogs (precooked)
6 chicken nuggets (precooked)
1/2 cup of shredded cheese
1/4 cup parmesan cheese
1/4 cup bread crumbs
2 tbsp italian seasoning

Instructions:

First, you'll want to prepare your hotdogs and chicken nuggets. We had frozen chicken nuggets, which we cooked in the microwave, and left over hotdogs from a barbeque the day before. You can cook them however you like. Chop the chicken nuggets and hotdogs into small bite sized pieces. Also, preheat your oven to 350 degrees.

Now, boil the macaroni noodles according to the package directions. 
Note: If you haven't already cooked your hotdogs, you can chop them up and boil them along with the noodles.

After you've drained out your water, add your hotdogs, chicken nuggets, and velveeta cheese into your noodles.
Processed cheese is so attractive. 

Mix all these ingredients together, then add in your shredded cheese and italian seasoning.

Mix well again to make sure you don't get a mouth full of italian seasoning. Then, scoop your mixture into a square baking dish, glass or metal will work just fine.

Sprinkle some more shredded cheese, parmesan, and breadcrumbs on top to make a lovely crisp topping.

Bake it in a 350 degree oven for 10 minutes or until your cheese is melted and your topping looks crispy.

Look at it, more beautiful than most peoples' first born child. I realize this is kind of an odd recipe with lots of processed ingredients, but lets face it, we can't be healthy all the time! We can tell you first hand that this is delicious and I'm sure we will make it again in the future.


Remember to drink merrily and treat your tummy with love! Cheers!


Tuesday, August 12, 2014

Peach Cobbler


Peach Cobbler


We’re refusing to admit that summer is slowly winding down to a close. We’re just not ready to say goodbye to the warm sun and fresh fruit. So, in honor of our denial we decided to make our first ever peach cobbler with some fresh peaches. We found a recipe on Pinterest and a video on YouTube by none other than Paula Deen the queen of Georgia (and peach cobbler apparently) to help guide us on this exciting adventure.


Ingredients:

4 cups peaches, peeled and sliced (we used 5 whole peaches)
2 cups sugar (separated)
½ cup water
1 stick butter
1 ½ cups self-rising flour
1 ½ cups milk
sprinkle of cinnamon

Directions:

Set your oven to 350 degrees.
Start by boiling a pot of water. 


Also, fill a large bowl with cold, ice water and set this aside. 


Cut a small cross notch on the top of each peach. 
That’s the rounded side, if you’re wondering (we were).


Place the peaches in the boiling pot for about 45 seconds. 


Now, remove the peaches from the boiling water and place them into the ice water. 


The skin should peel off pretty easily now.
Peel, slice and remove the pits from each peach. 


Place the peach slices in a saucepan.
 Add 1 cup of the sugar and all of the water.


Stir and bring the pot to a boil then lower the heat to simmer the peaches for 10 minutes to create a syrup.


Meanwhile, in a large bowl, whisk your flour and remaining 1 cup of sugar together to avoid clumping. 


Slowly add milk to the flour mix and whisk until smooth. 


Melt your butter and pour into your baking pan, sliding it around to cover the edges. 


Pour your batter mixture on top of the butter but don’t stir it. Just let it sit on top. We know this seems backwards but the topping mixture will rise up and cover the peaches while it bakes.


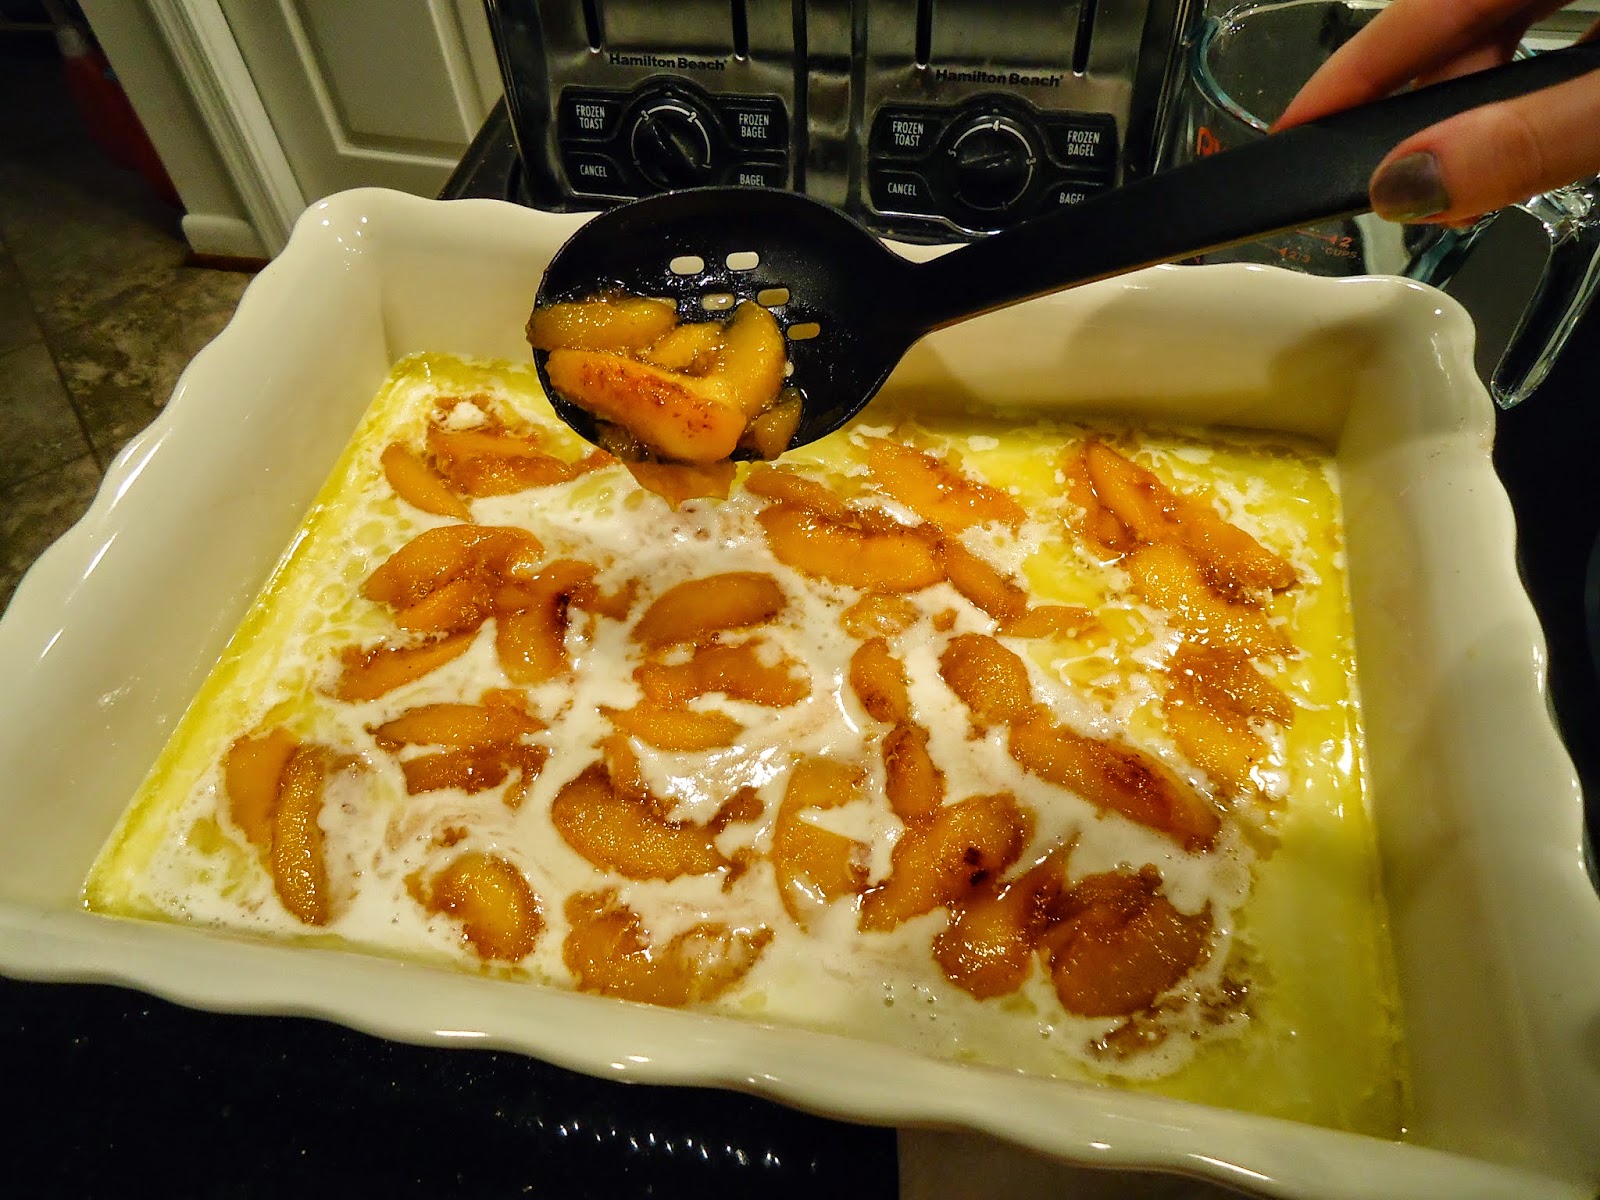
Now spoon your peaches out of the pot with a slotted spoon and arrange them on top of the batter mixture. 


Pour the peach syrup on top. 


Sprinkle with cinnamon.


Bake for 35-45 minutes and serve warm.

  
For our first ever peach cobbler we’d say this one was a success. We chose this recipe because it was described as fail-proof and for people who have never peeled or sliced a peach before that sounded pretty good.

This recipe is excellent by itself or you can enhance it with a scoop of vanilla ice cream, frozen yogurt or a dollop of whipped cream. We chose to have ours as is with a cup of hot tea of course! It also reheats nicely in the microwave for the next day.


Enjoy!